By: StaubRacing
With the engine torn down, I finally saw the damage—and it wasn't pretty
Featured Post!In Part 1, I walked through how a subtle rattle at the track led me to drop the motor on my ZX6R. In this post, I’ll show you exactly what we found once the engine came apart—and what needs fixing.
The damage on cylinder #4 wasn’t subtle. You could clearly see vertical scoring on both the front and rear sides of the bore, along with a polished section where the piston had been making contact. Since these are Nikasil-coated cylinders, this kind of damage isn’t something you can just hone out. The coating is extremely hard but very thin—once it’s compromised, your options are limited to either re-plating or replacement.

Vertical scoring visible on both sides of cylinder #4 bore, with polished sections where piston contact occurred and the piston had been rubbing against the bore. Which deposited aluminum on the bore.
Seeing this was a double-edged moment. I was relieved to have found the cause of the noise—it wasn’t in my head—but also bummed to be staring at real damage. I had no idea what the total cost would be or how deep this rebuild might go. But I was committed now. The engine was open, and there was no turning back. I was going to rebuild this engine! I was going to get it back to the track and race it!
Once we got the head off and I could access the top of the piston, I could see what was causing the knocking noise. The piston was rubbing against the bore and the bore was scoring. This is what caused the knocking noise.
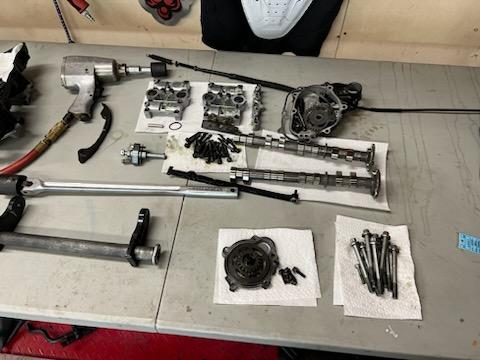
Over the next few weeks, I chipped away at the teardown in stages. I started removing the external components: the starter, oil pump, radiator hoses going to the oil cooler, and the oil pan to drain everything and expose the lower end of the engine.
When it came time to split the crankcase, I verified the proper bolt removal sequence using the service manual. These engines are tough, but skipping steps can cause warping or future sealing issues.
After getting all the bolts out, I split the case and finally exposed the crankshaft and connecting rod end caps.
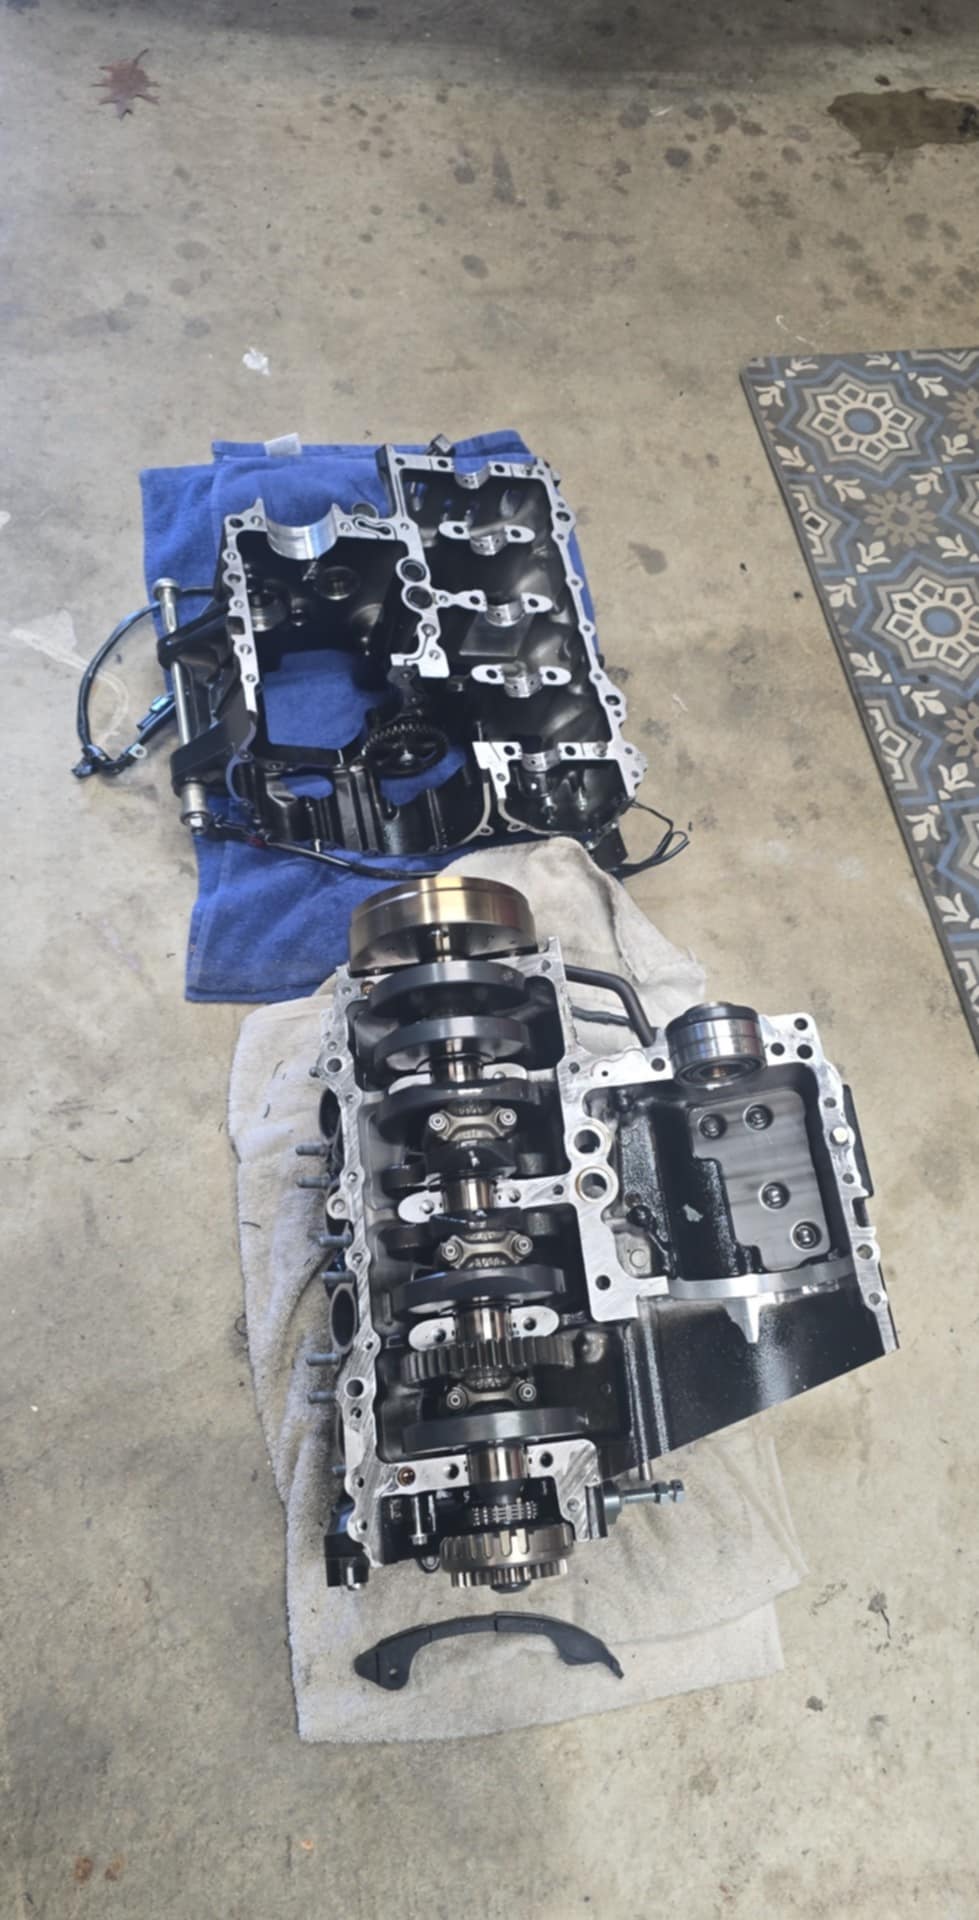
Crankcase halves separated, revealing the crankshaft and connecting rod assemblies
With the cases apart, I removed the rod caps and slid out the rod bearings. Then I carefully pulled the crankshaft and inspected the main bearings underneath.
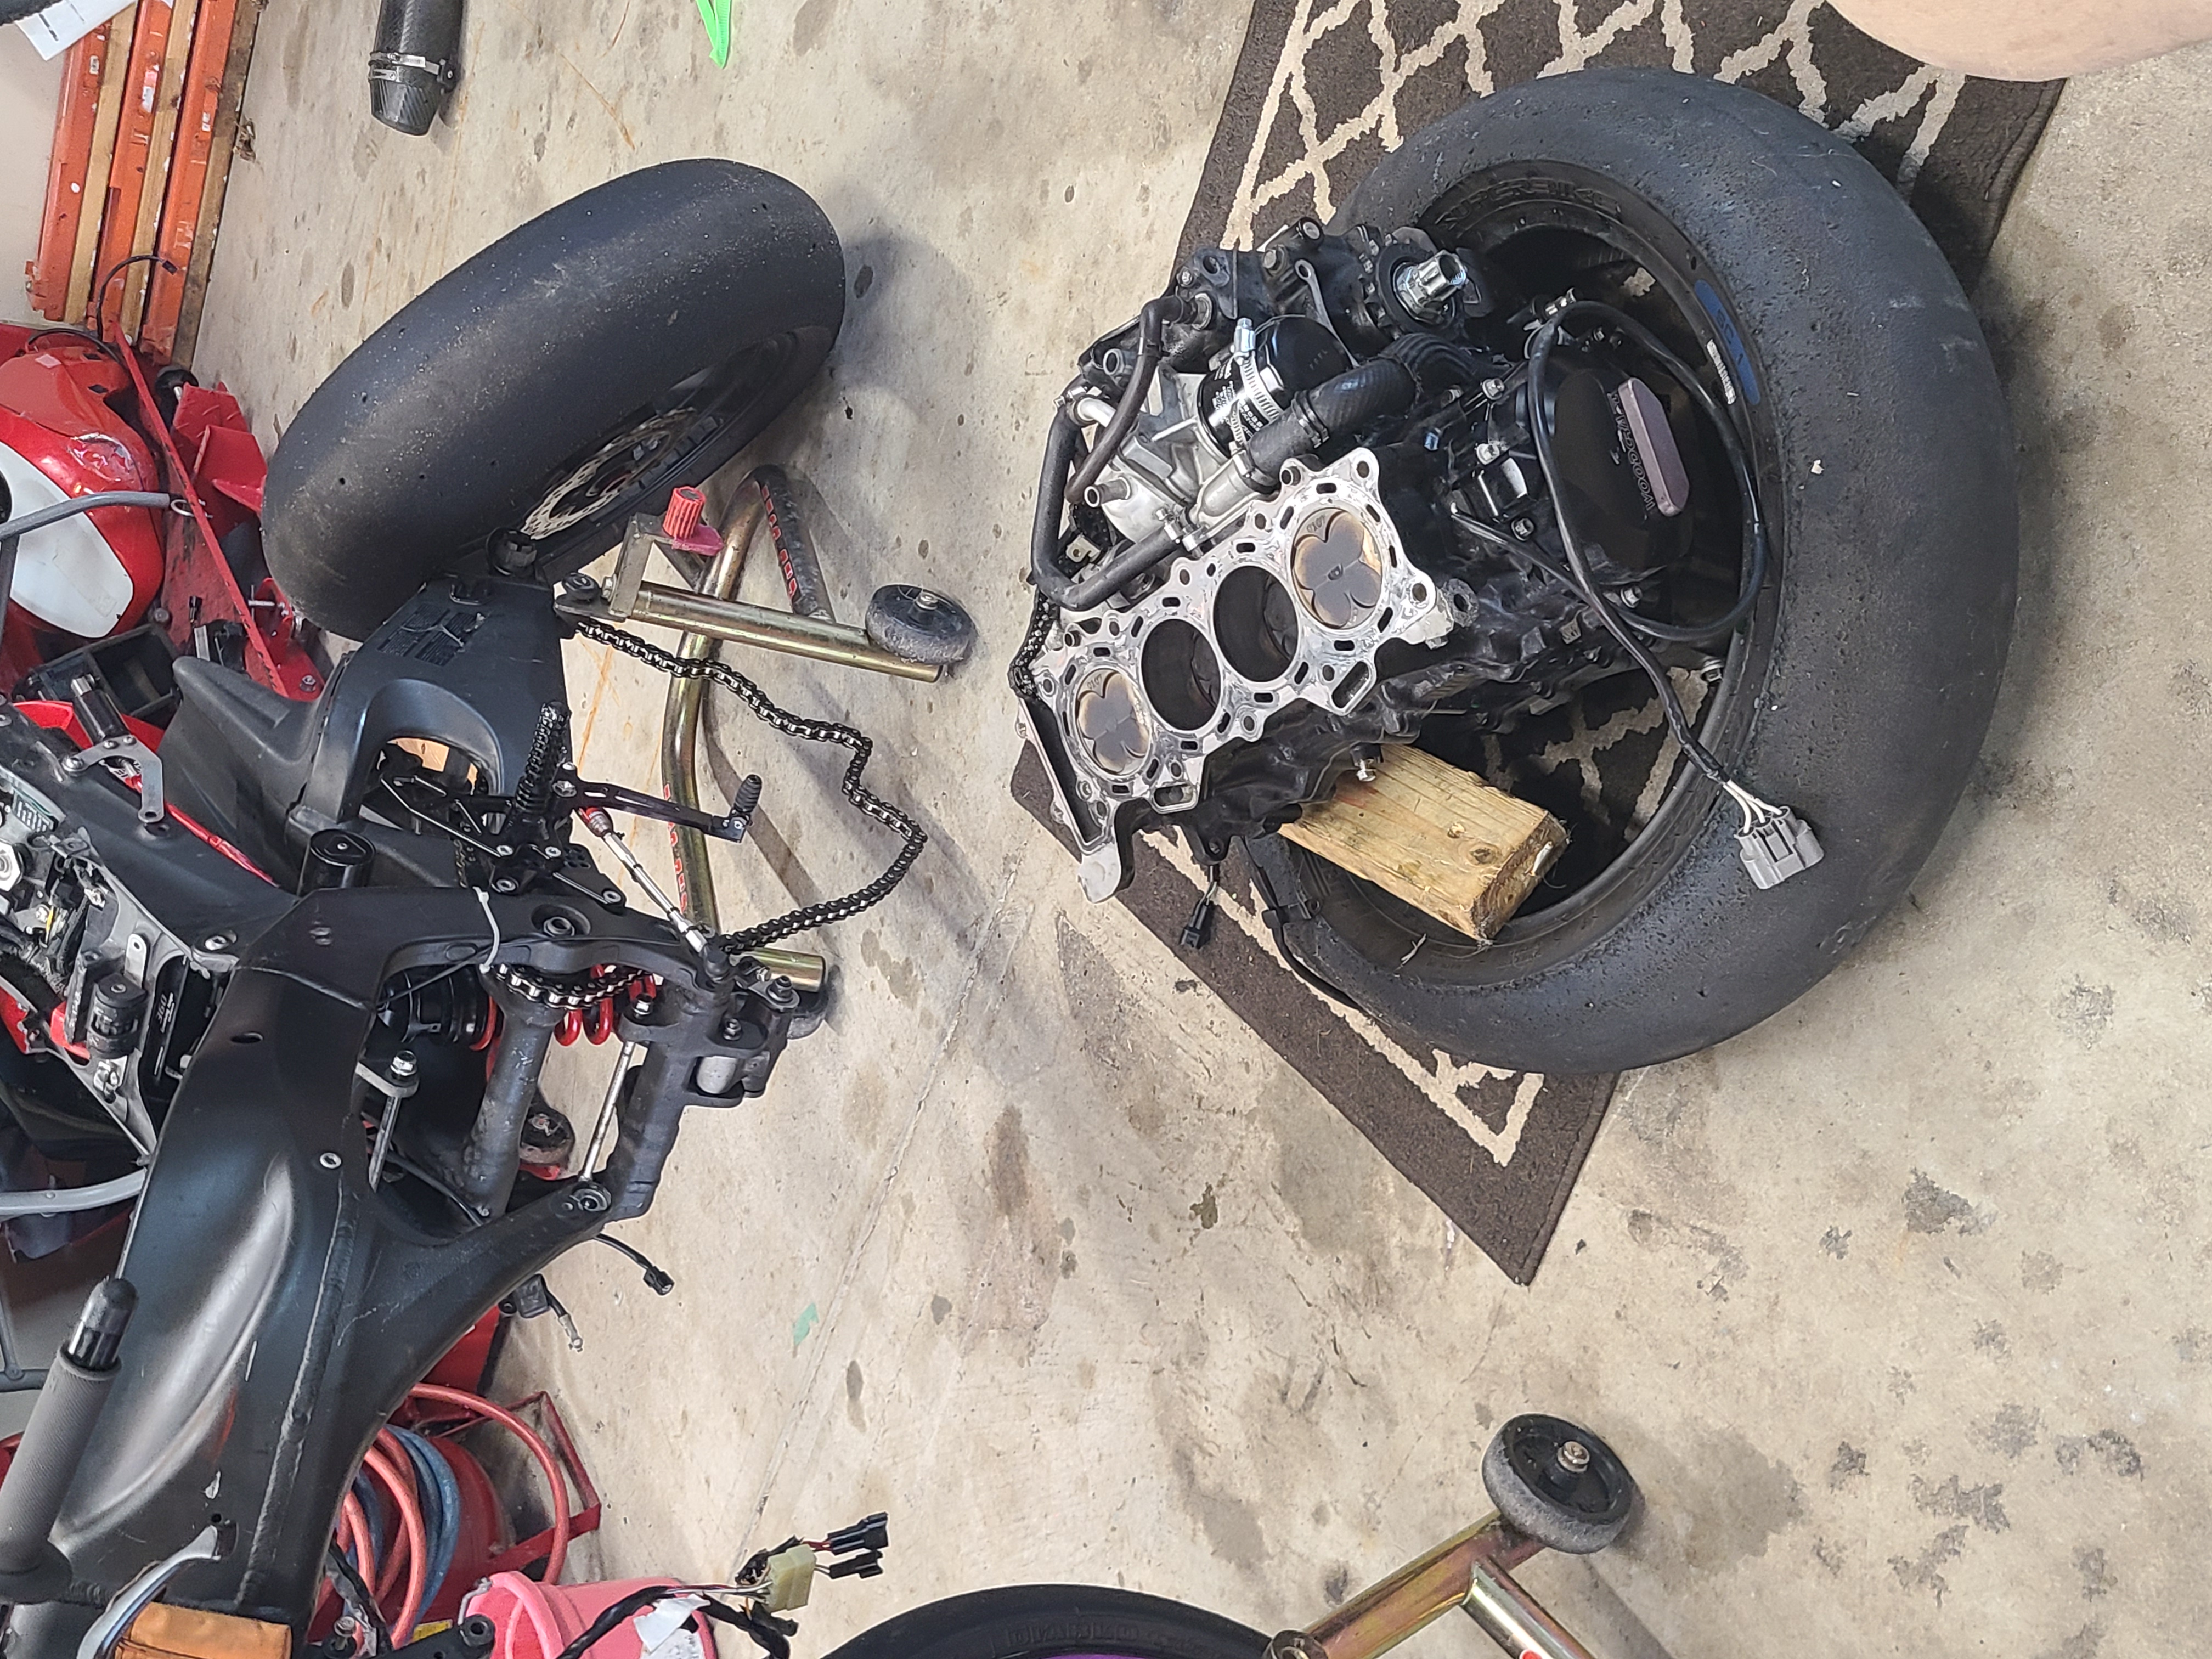
Engine removed from frame for complete disassembly and inspection
Surprisingly, they looked good—no major scoring, no heat discoloration, and no embedded debris. That was a bit of good news. It meant the bottom end likely wasn’t completely wrecked. The damage looked isolated to the top end and that #4 cylinder.
The piston from cylinder #4 confirmed this theory. It had significant damage along the sides, especially where it had been rocking in the bore. That rocking motion—called piston slap—is what likely caused the polished sections and scoring on the cylinder wall.
Piston slap happens when there’s too much clearance between the piston and cylinder wall, often due to wear or heat. Instead of moving straight up and down, the piston rocks slightly with each stroke. Over time, this repeated contact transfers aluminum from the piston onto the cylinder wall.
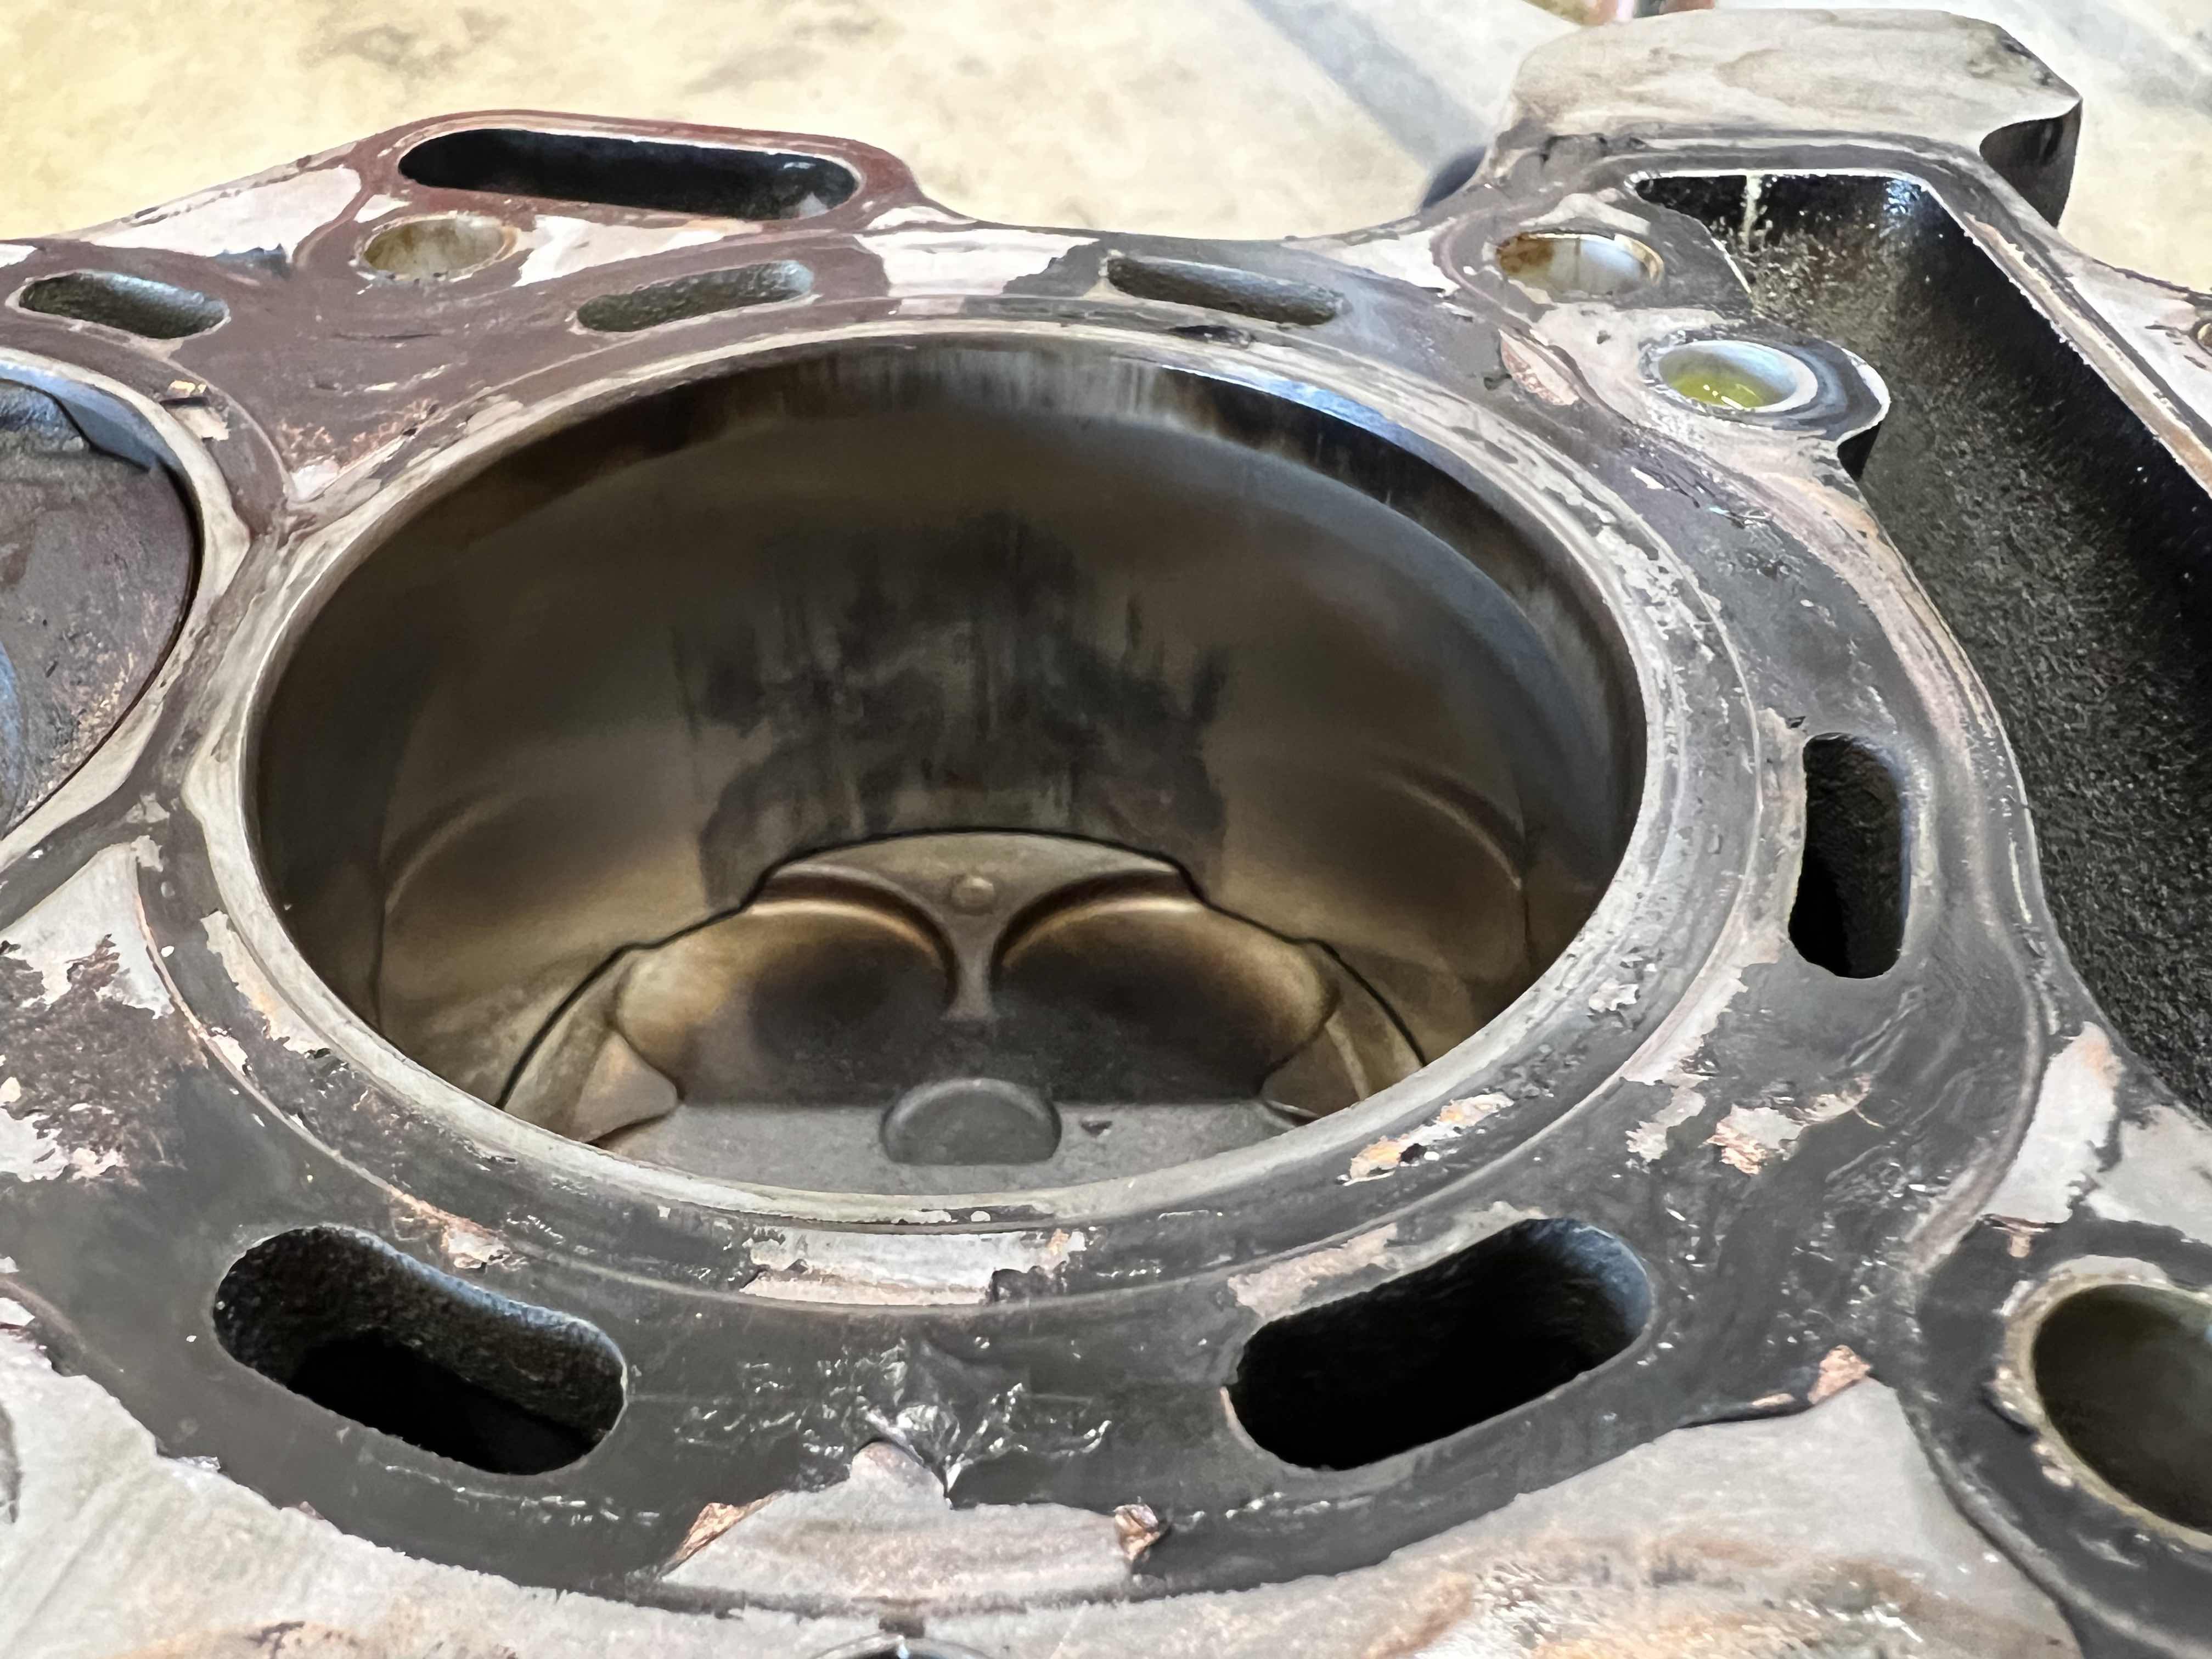
Close-up view of cylinder scoring damage from piston slap
Since this is a Nikasil surface, aluminum transfer like this can’t just be honed out. It either needs to be chemically cleaned—there’s an acid method I want to try—or fully re-plated by a machine shop.
🔧 Next Up: I’ll be exploring cleaning options, talking to machine shops, and planning the repair path forward. I’ll share what I learn in Part 3.